tmux.conf with clipboard integration & extra features
I have been using the terminal multiplexer tmux for almost two years now, but I never used its mouse support. The big reason was that it messed up the native terminal copy-paste support.
I spent some time reading the tmux(1) man page, and finally got something working that's comparable to gui terminal emulators like gnome-terminal.
Nice things I added here:
- Copy mode selection with keyboard/mouse will copy into the clipboard, rather than just the tmux buffer.
- Right click to paste from the clipboard.
- Middle click on the window label to close a window.
- Double click on any window label to open a new window.
- Drag to re-order windows.
For those who are not familiar with tmux terminology, a tmux "window" is comparable to a browser "tab".
Here's the relevant tmux.conf parts annotated (my actual tmux.conf is here):
#!tmuxsh
# Enable mouse support.
set -g mouse on
# Middle click on the window label to kill it
# "=" is apparently a macro for the "selected window number" but only for
# a certain set of commands.
bind-key -n MouseUp2Status kill-window -t=
# Drag to re-order windows
bind-key -n MouseDrag1Status swap-window -t=
# Double click on the window list to open a new window
bind-key -n DoubleClick1Status new-window

## Clipboard integration (only applicable when you have an X server running)

# Selection with mouse should copy to clipboard right away, in addition to the default action.
# Unbind the default action first.
unbind -n -Tcopy-mode-vi MouseDragEnd1Pane
bind -Tcopy-mode-vi MouseDragEnd1Pane send -X copy-selection-and-cancel\; run "tmux save-buffer - | xclip -i -sel clipboard > /dev/null"
# Copy mode copy should also copy it to the clipboard as well.
unbind -Tcopy-mode-vi Enter
bind -Tcopy-mode-vi Enter send -X copy-selection-and-cancel\; run "tmux save-buffer - | xclip -i -sel clipboard > /dev/null"
# Right click to paste from the clipboard
# If you like middle click better, change MouseDown3Pane to MouseDown2Pane for middle click.
unbind-key MouseDown3Pane
bind-key -n MouseDown3Pane run "tmux set-buffer \"$(xclip -o -sel clipboard)\"; tmux paste-buffer"
A few interesting things to note:
- The equals sign (
=) in kill-window is a macro for the selected window number. But, it only works with specific commands, in an unescaped form. You can't doconfirm-before "kill-window -t=". Don't waste your time trying to get it working. - You must redirect xclip output into
/dev/null, or tmux will hang (Relevant SO link). - Also, If you are not using the vi key binding, all the un/binds with
copy-mode-viin it, needs to be replaced with copy-mode and their respective key binding. The default tmux key binding is actually hard-coded in their source code. - Notably, this seems to work pretty well on the latest release of Windows 10 Bash on Ubuntu on Windows / WSL (Wow, what a mouthful name!). Just run an X server like Xming and your clipboard will integrate with the Windows clipboard. Now I can use tmux full-time on Windows.
What can be improved:
- Disable the clipboard integration if X is not available. Since I always work with X, I didn't think this was useful.
- It does not select a word like on double click.
- Right after selection, it exits the copy-mode. It's kind of jarring.
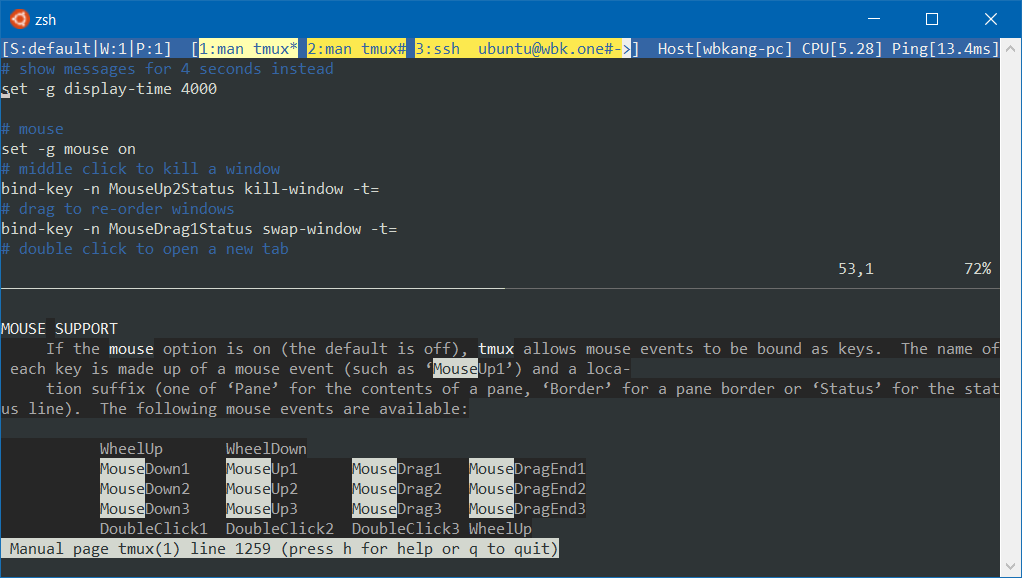
Screenshot (well.. it doesn't look any different with mouse support)
Use apt-get build-dep to install build dependencies
Or, how to build the latest tmux on Ubuntu
There are times you want to use a more up-to-date software than what comes with your Linux Distribution (distro). I had to do this when I was using Ubuntu 16.04. I wanted to use the latest tmux for its advanced mouse support but Ubuntu 16.04 came with an older version of tmux without the feature. Since the LTS versions rarely do a major-version upgrade, the only way to get the newer version was to build it from source.
Sometimes, building from source can be as easy as ./configure && make && sudo make install. More often than not though, it can be a real test of patience. What I do usually is to run the build script, read the error message, search the name of the missing component, rinse and repeat.
Here's an example of me trying to build tmux from scratch on Ubuntu (⛔ indicates a trial-and-error cycle):
# Get Git
$ sudo apt-get install -y git
# Get the source
$ git clone https://github.com/tmux/tmux.git; cd tmux
# Well, this is the only executable, so let's go.
$ sh autogen.sh
...
aclocal: not found ⛔
# after googling
$ sudo apt install -y automake
$ sh autogen.sh # ✅ works this time.
$ ./configure
...
configure: error: no acceptable C compiler found in $PATH ⛔
# I guess I should install gcc, since that's a popular compiler.
$ sudo apt install -y gcc
$ ./configure
...
configure: error: "libevent not found" ⛔
# Let's install the development package
$ sudo apt install -y libevent-dev
$ ./configure
...
configure: error: "curses not found" ⛔
# I just happen to know that the package is not called libcurses-dev 😏
$ apt install -y ncurses-dev
$ ./configure
...
config.status: error: Something went wrong bootstrapping makefile fragments
for automatic dependency tracking.  If GNU make was not used, consider
re-running the configure script with MAKE="gmake" (or whatever is
necessary) ... ⛔
# What is totally not obvious is from the message above is that
# I am actually missing make entirely.
$ sudo apt install -y make
$ ./configure # succeeds ✅
$ make
...
./etc/ylwrap: line 175: yacc: command not found ⛔
# Googles to find out that GNU bison provides yacc
$ sudo apt install -y bison
$ make
# Finally succeeds ✅
This was just 6 tries, but with bigger packages, this trial-and-error approach can be extremely time consuming. Worse, even after building, you can still end up with random missing features because some of the optional features are included only when the library is found on the system.
Fortunately, on a Debian-based distro (like Ubuntu), there is a quick way to install the build dependencies for the software that already exists in the repo. This relatively obscure command apt-get build-dep will install all the build dependencies for you.
Additional Notes for Ubuntu
On Ubuntu, the first step to use apt-get build-dep is to add the source code repositories to the system source repositories. Source repositories contain the metadata necessary to find out the build-time dependencies for packages. We need to do this on Ubuntu once because recent versions of Ubuntu ships with the source repositories excluded by default. Presumably, this is to make apt-get update faster but I was never able to confirm. If anyone knows the answer, please let me know.
To enable the source code repositories, you can uncomment the lines starting with deb-src, or run the following command:
# The old sources.list will be backed up as /etc/apt/sources.list.bak
$ sudo sed -i.bak 's/^# *deb-src/deb-src/g' /etc/apt/sources.list && \
  sudo apt-get update
# restore with sudo mv /etc/apt/sources.list.bak  /etc/apt/sources.list
Real-life Example: Building tmux
With the source repository enabled, let's try building tmux again.
Install the build dependencies of tmux.
$ sudo apt-get build-dep -y tmux
Now we can start building.
cd tmux
sh autogen.sh && ./configure && make -j 4
For the latest tmux on Ubuntu 20.04, you will get an error like this (as of Feb 2022):
./etc/ylwrap: line 175: yacc: command not found
This is because this new version of tmux added a dependency to yacc. I confirmed this by reading the CHANGES file.
We can fix this by installing the yacc-compatible GNU bison: sudo apt-get install -y bison. Re-running the build should work.
If everything went well, you should be able to run ./tmux to test it.
In the end, I still had to go through 1 trial-and-error cycle (yacc) but that's 5 less that the original.
Bonus 1: Safe Installation of Compiled Packages
Here's one more tip to manage the installation of source-compiled packages. Many guides at this point would tell you to run sudo make install but often there is a nasty surprise waiting for you after - You are at the mercy of package maintainer to be able to uninstall the package cleanly. Often the uninstall target just doesn't exist, in which case you can't easily uninstall the software. There are a couple ways to handle this (e.g., GNU stow - a topic for another blog). Here I will show how you can use checkinstall to easily create a reasonably well-behaved dpkg from the source. To use checkinstall, run the following command:
$ sudo apt-get install -y checkinstall
Now you can run checkinstall to create a dpkg (Debian package) and install it.
It will ask you a bunch of questions, you can go with the default most of the time. As for the version string I just used 9999 (a convention that I borrowed from Gentoo) to express that I want my package to be the latest version.
# make a package - may have to answer some prompts
$ checkinstall --pkgname=tmux --pkgversion=9999 \
  --install=no --fstrans=yes
# install the package (replace amd64 with your architecture)
$ sudo dpkg -i tmux_9999-1_amd64.deb
Now you can see that your tmux is installed as /usr/local/bin/tmux (Technically it's in a wrong place for a dpkg package but it's not that important).
Now if you try to install tmux from apt, it will say you have the latest version.
$ sudo apt-get install -y tmux
Reading package lists... Done
Building dependency tree
Reading state information... Done
tmux is already the newest version (9999-1).
# And to uninstall this package,
# you can simply run apt-get remove -y tmux
Bonus 2: What if I just want to find the list of dependencies without installing them?
Found this answer on askubuntu.com:
# replace tmux with the package in question
apt-cache showsrc tmux | grep ^Build-Depends
Bonus 3: What if I am on Redhat/Fedora?
Use dnf builddep or yum-builddep.
DPI Scaling on Linux Mint
I have a Surface Pro 2 which has a relatively dense, 10-inch 1080p screen. It hurts my eyes to look at individual UI elements and text without dpi scaling. On Windows, everything is scaled up by 150% by default.
I wanted to use Linux Mint on VirtualBox for development but I couldn't find any articles on the internet on how to get the elements to scale up properly. After some trial-and-error, this is how I achieved 150% dpi scaling that is good enough.
- Go to Preference -> General, then select User interface scaling to be Double. This doubles everything in size. This works for other high density displays like MacBook Pro retina but many things looked too big for the screen of Surface Pro 2.
- Go to Preference -> Fonts, then set text scaling factor to 0.7. This leaves UI elements to be double the size but makes text smaller. Since the text size was doubled then multiplied by 0.7, it ends up being 140% of the original size, which is close enough to the desired level of 150%.
- Log out and back in to finish applying the change.
Transferring installed programs on OpenSUSE 12.1 (or, trying to enlarge the root partition)
I am using OpenSUSE 12.1 in VirtualBox. After installing a bunch of programs I needed, it started complaining that there is not enough space in root partition. After a while, it got to the point where I couldn’t even install security updates. I have installed OpenSUSE on the default hard disk size of 8GB, with the default root partition size of 5GB but clearly that was not enough.
Unfortunately the root partition was laid out between the boot partition and the home partition. So I decided to try to take a shortcut by mounting a new harddisk, use dd to copy the content of the partitions, and use resize2fs to enlarge the new root partition on the new hard drive. HUGE mistake! I completely forgot modern Linux installations use fstab with UUID entries. The bottom line is that I couldn’t get OpenSUSE to boot up at all.
Hence, I took a longer way of re-intalling and transferring my configurations. I haved used the following command to extract the names of all the packages installed on my OpenSUSE installation.
zypper se -i | tail +6 | awk '{ print $3 }' > packages.txt
Installing a new OpenSUSE instance took about 10 minutes on my desktop (i5-2500k). I just copied over the file to the new instance and issued the following command to restore all the installed packages.
zypper install `cat packages.txt`
Another note on using OpenSUSE on VirtualBox is that you should uninstall the built-in VirtualBox guest addition and re-install a newer version of VirtualBox guest edition.
zypper remove virtualbox-guest-x11 virtualbox-guest-tools virtualbox-guest-kmp-default
Working wpa_supplicant.conf configuration for the network uw-secure at UWaterloo for Xperia X10 (1.6)
While Sony Ericsson has promised us that they will update X10 with a moderately recent version (2.1) of the Android Operating System by Q4 2010, those of us who are stuck with Android 1.6 cannot normally connect to the most wireless networks using WPA-EAP including uw-wireless at the University of Waterloo. Apparently, the reason is while Android 1.6 does support WPA-EAP, there is no user interface (!) for editing these network configurations.
Fortunately, X10 (including X10a sold in Canada by Rogers) has been rooted very recently by the people at xda-developers.com. You can follow the guidelines here (For X10a users, it is important to install stuff in the post #5 as well).
After obtaining the root of the phone, you can edit the file wpa_supplicant.conf in /data/misc/wifi directory. I made a copy before making changes just in case. It is important that the owner and the permission of the file remains the exact same (owner: system, group: wifi and permission: 660).
Using your favourite method, append the following to the file:
network={
    ssid="uw-secure"
    scan_ssid=1
    proto=WPA
    key_mgmt=WPA-EAP
    eap=PEAP
    identity="UWDirID"
    password="UWDirPASSWORD"
    phase1="peaplabel=0"
    phase2="auth=MSCHAPV2"
}
I’ve assembled the configuration from this post at Arch Linux Forum by vogt. Two modifications I made is that I removed the line specifying ca_cert and added the line proto=WPA. For whatever reason, the phone will ignore the configuration if there is no proto=WPA line.
Recent posts
Categories
Search