tmux.conf with clipboard integration & extra features
I have been using the terminal multiplexer tmux for almost two years now, but I never used its mouse support. The big reason was that it messed up the native terminal copy-paste support.
I spent some time reading the tmux(1) man page, and finally got something working that's comparable to gui terminal emulators like gnome-terminal.
Nice things I added here:
- Copy mode selection with keyboard/mouse will copy into the clipboard, rather than just the tmux buffer.
- Right click to paste from the clipboard.
- Middle click on the window label to close a window.
- Double click on any window label to open a new window.
- Drag to re-order windows.
For those who are not familiar with tmux terminology, a tmux "window" is comparable to a browser "tab".
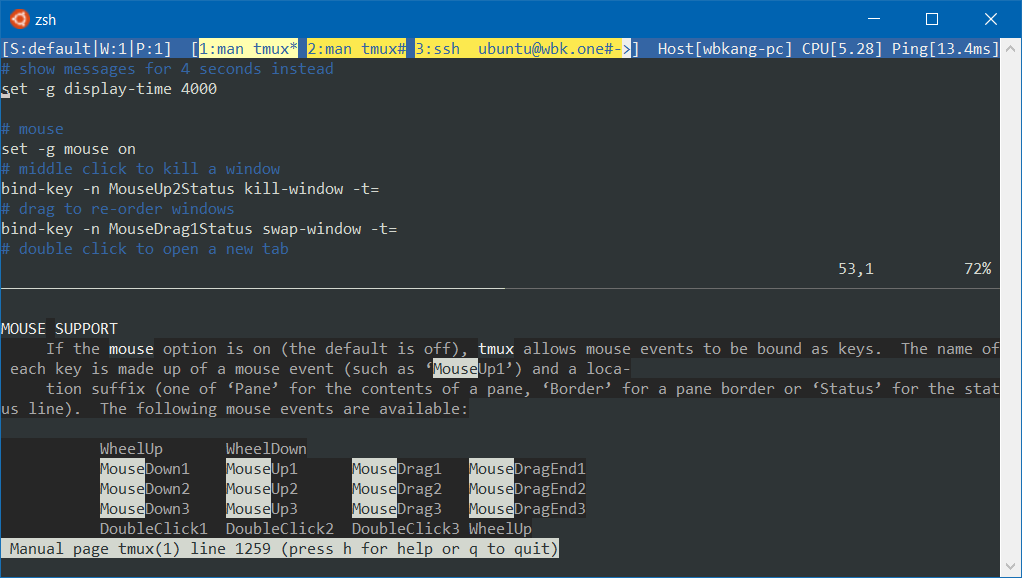
Here's the relevant tmux.conf parts annotated (my actual tmux.conf is here):
#!tmuxsh
# Enable mouse support.
set -g mouse on
# Middle click on the window label to kill it
# "=" is apparently a macro for the "selected window number" but only for
# a certain set of commands.
bind-key -n MouseUp2Status kill-window -t=
# Drag to re-order windows
bind-key -n MouseDrag1Status swap-window -t=
# Double click on the window list to open a new window
bind-key -n DoubleClick1Status new-window

## Clipboard integration (only applicable when you have an X server running)

# Selection with mouse should copy to clipboard right away, in addition to the default action.
# Unbind the default action first.
unbind -n -Tcopy-mode-vi MouseDragEnd1Pane
bind -Tcopy-mode-vi MouseDragEnd1Pane send -X copy-selection-and-cancel\; run "tmux save-buffer - | xclip -i -sel clipboard > /dev/null"
# Copy mode copy should also copy it to the clipboard as well.
unbind -Tcopy-mode-vi Enter
bind -Tcopy-mode-vi Enter send -X copy-selection-and-cancel\; run "tmux save-buffer - | xclip -i -sel clipboard > /dev/null"
# Right click to paste from the clipboard
# If you like middle click better, change MouseDown3Pane to MouseDown2Pane for middle click.
unbind-key MouseDown3Pane
bind-key -n MouseDown3Pane run "tmux set-buffer \"$(xclip -o -sel clipboard)\"; tmux paste-buffer"
A few interesting things to note:
- The equals sign (
=) in kill-window is a macro for the selected window number. But, it only works with specific commands, in an unescaped form. You can't doconfirm-before "kill-window -t=". Don't waste your time trying to get it working. - You must redirect xclip output into
/dev/null, or tmux will hang (Relevant SO link). - Also, If you are not using the vi key binding, all the un/binds with
copy-mode-viin it, needs to be replaced with copy-mode and their respective key binding. The default tmux key binding is actually hard-coded in their source code. - Notably, this seems to work pretty well on the latest release of Windows 10 Bash on Ubuntu on Windows / WSL (Wow, what a mouthful name!). Just run an X server like Xming and your clipboard will integrate with the Windows clipboard. Now I can use tmux full-time on Windows.
What can be improved:
- Disable the clipboard integration if X is not available. Since I always work with X, I didn't think this was useful.
- It does not select a word like on double click.
- Right after selection, it exits the copy-mode. It's kind of jarring.
Screenshot (well.. it doesn't look any different with mouse support)
San Francisco Trip Part 2 - MOAH
Part 1 is here.
We dropped by a small house museum called the Museum of American Heritage (MOAH) on the way to Stanford University. I wasn't sure what to expect but it turned out pretty good. A pinball exhibition was ongoing when we were there so that was fun to play with. And there were many interesting old gadgets. A volunteer named Jim was guiding us throughout the visit.

Ever wondered why pinball is named so? Well, when they first made it, it was literally a bunch of pins and a ball, no flappers or anything else. Hence the name "pinball". The earlier machines didn't require too much skill.
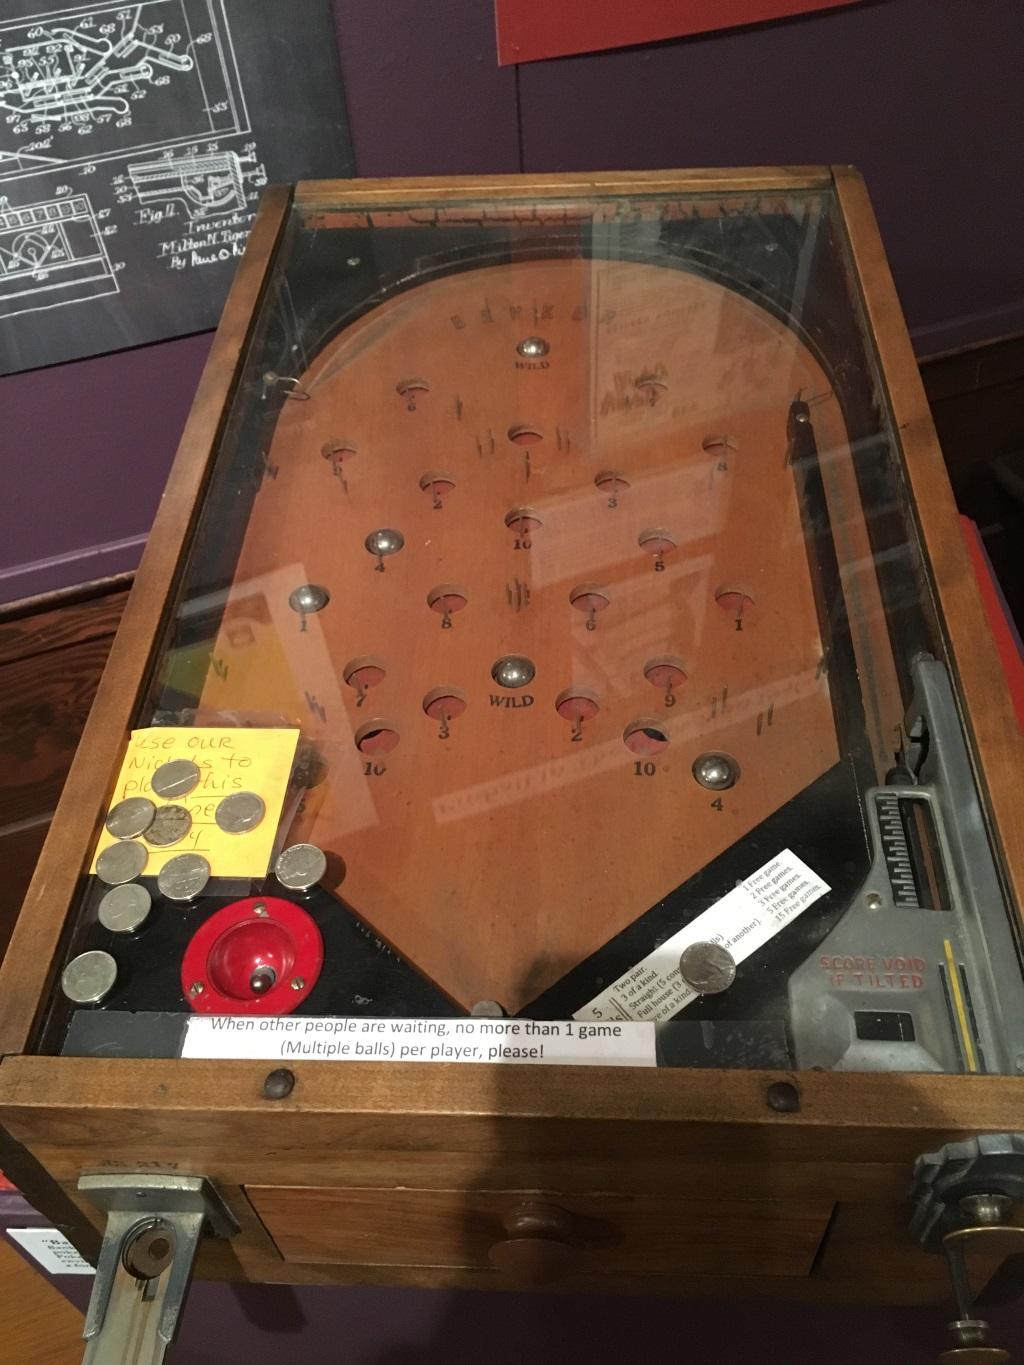
The sticker says
- two pair - 1 free game
- 3 of a kind - 2 free games
- straight - 3 free games
- full house - 5 free games
- four of a kind - 15 free games
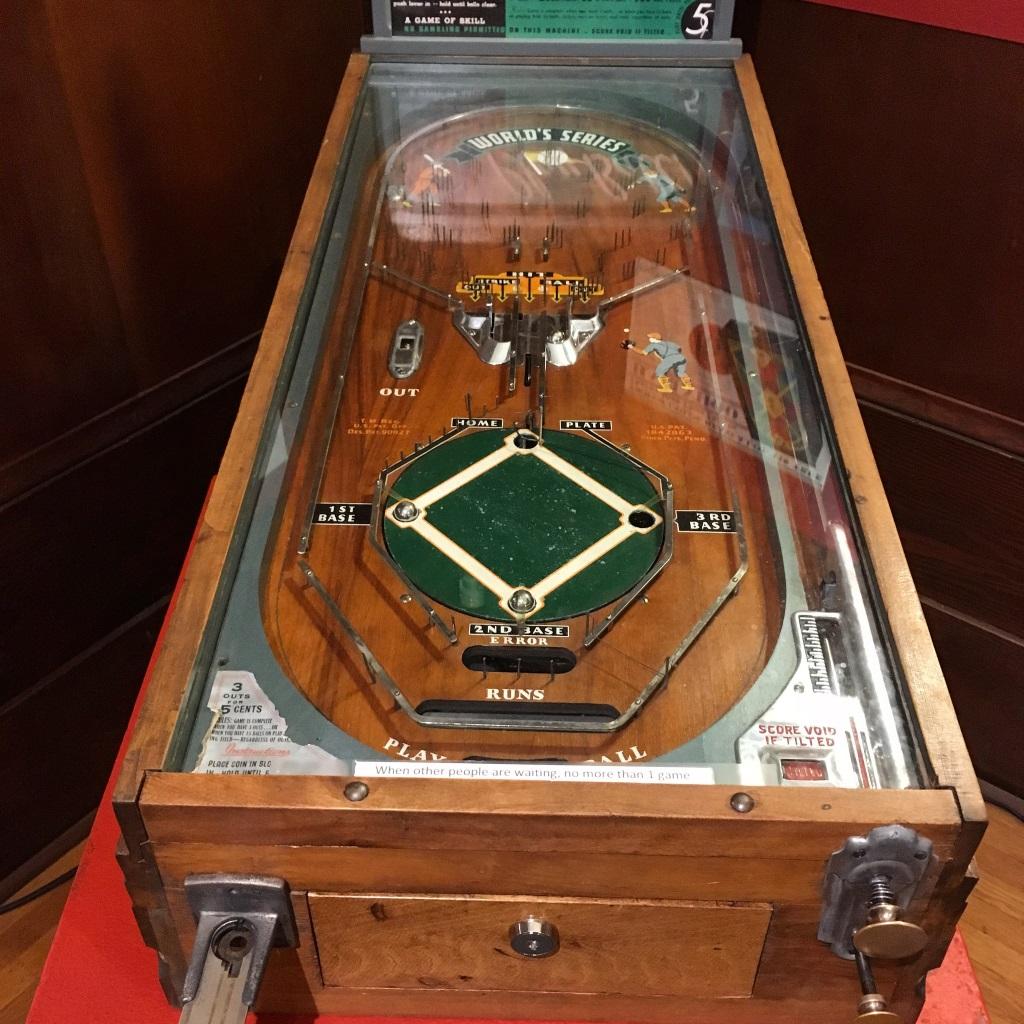
When a ball makes it to the "hit" section, the entire plate rotates. Unlike all other mechanical pinball machines, this one was actually pretty fun to play.
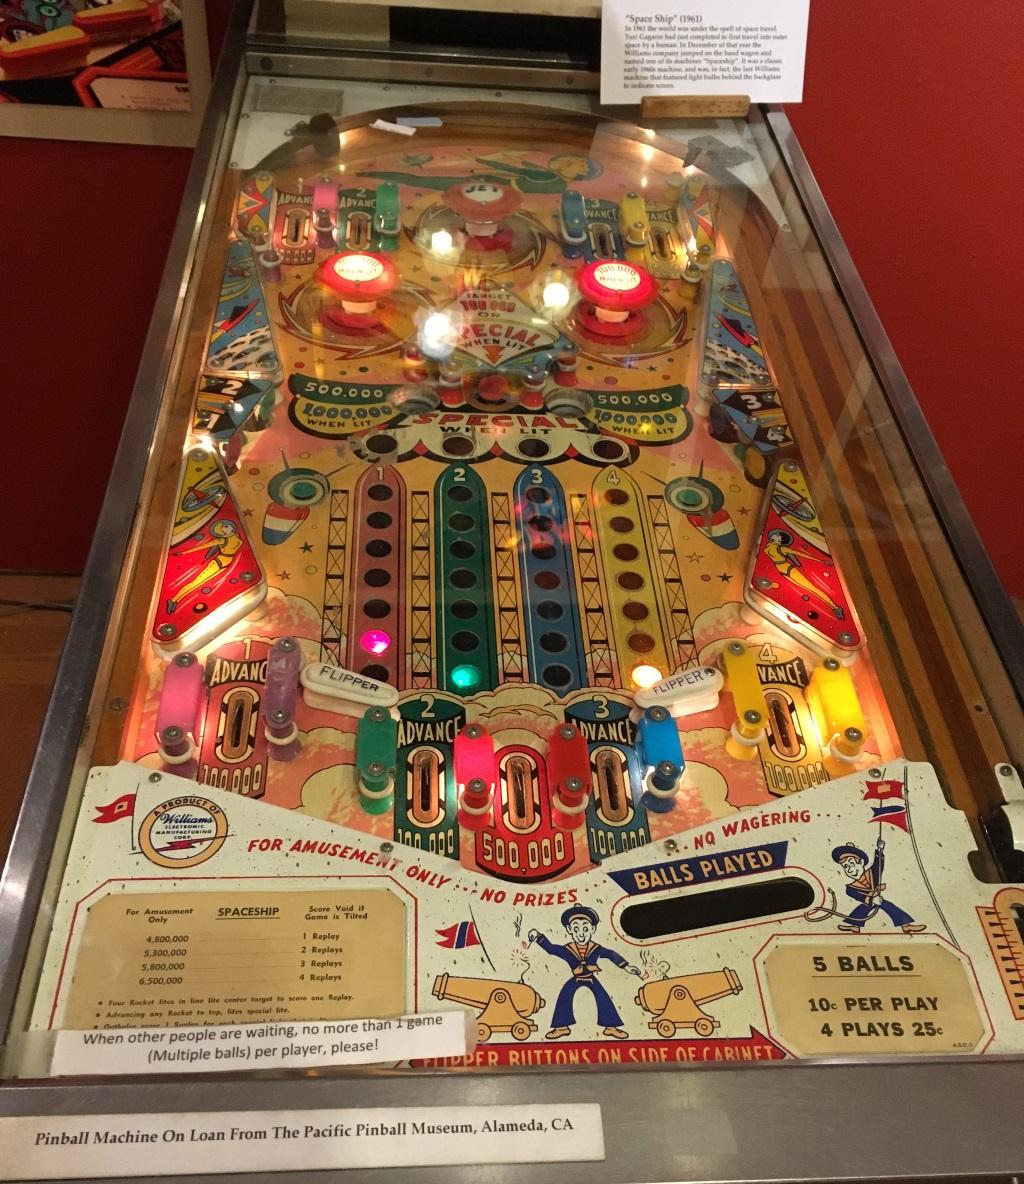
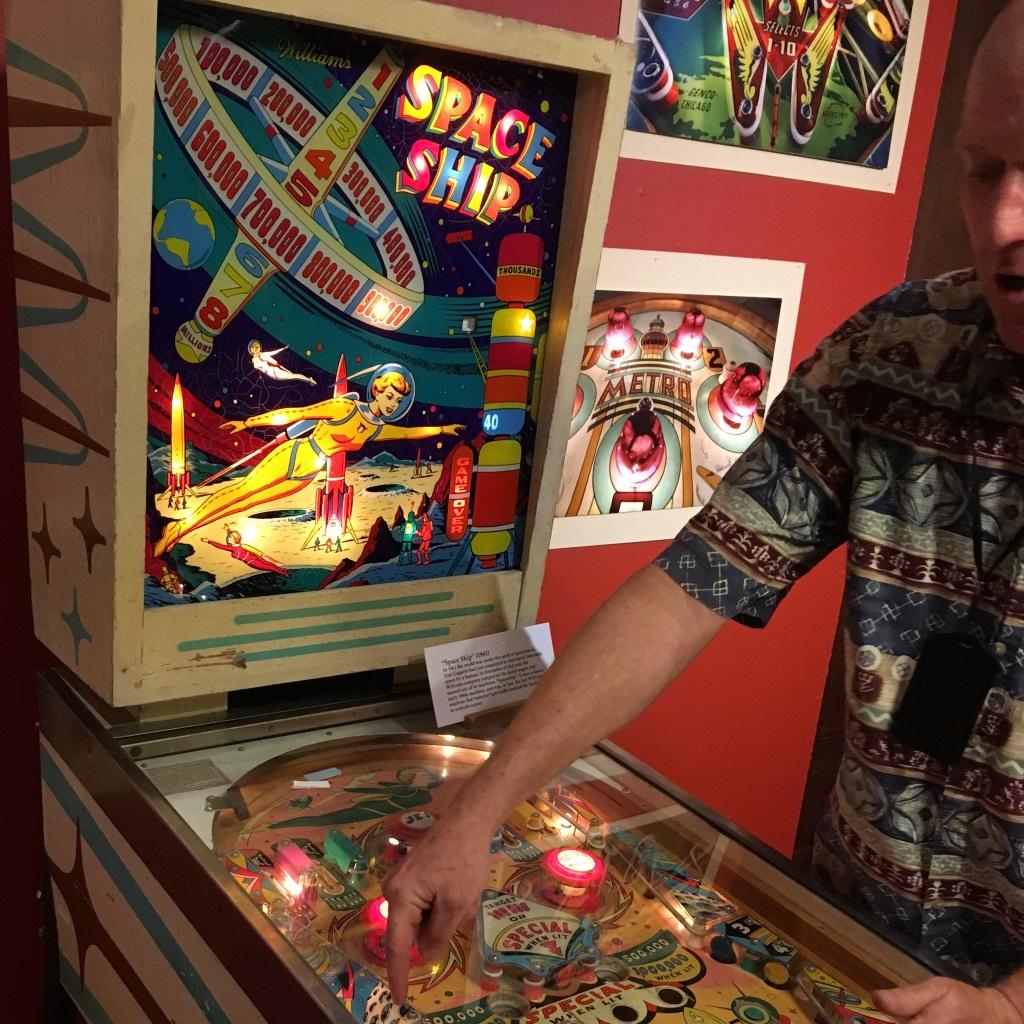
Jim the volunteer told us is that quite a few pinball machines had nice backglass arts that expressed many progressive social ideas for the time, like female astronauts. Supposedly, those backglasses are more valuable than the pinball machines themselves.
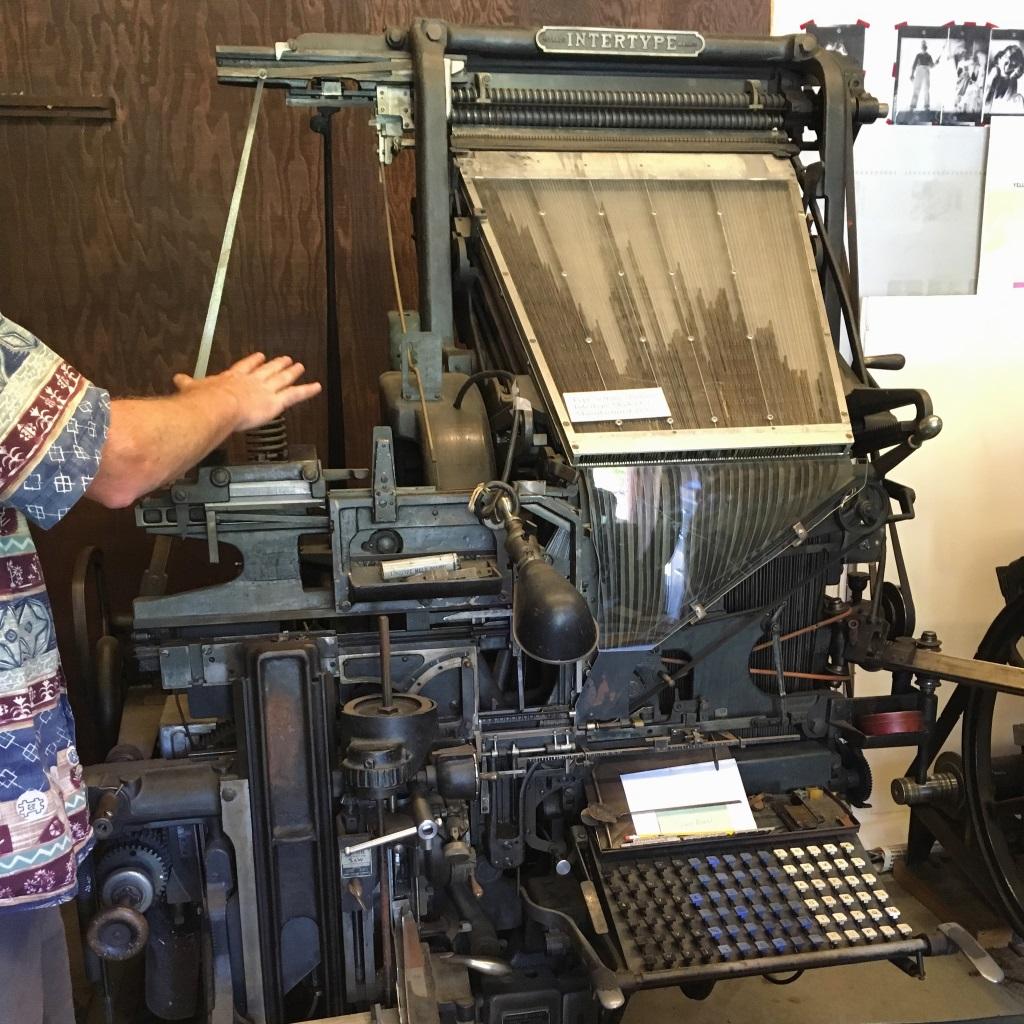
The Intertype machine made typesetting dramatically faster. At the backside of the machine, there is a cylinder of molten lead. As you type on the machine, the moulds for the letters you type fall into the tray in front of you. Then as you "flush" the current line, the molten lead is cast into types that you can use to publish newspapers faster than ever.
This machine helped the invention of daily newspapers. The machine was very expensive so people came up with various ways to keep it busy 24/7. One such way was to typeset a national newspaper earlier in the day, then to typeset a local newspaper later in the day (*I think this is kind of similar to how earlier computers were all time-sharing systems; Computers were very expensive and valuable back then*).
Unfortunately, I didn't really get to see it running live. They stopped running it live after many parents expressed concerns about their kids (at the museum) being exposed to lead fumes and all.
San Francisco Trip Part 1
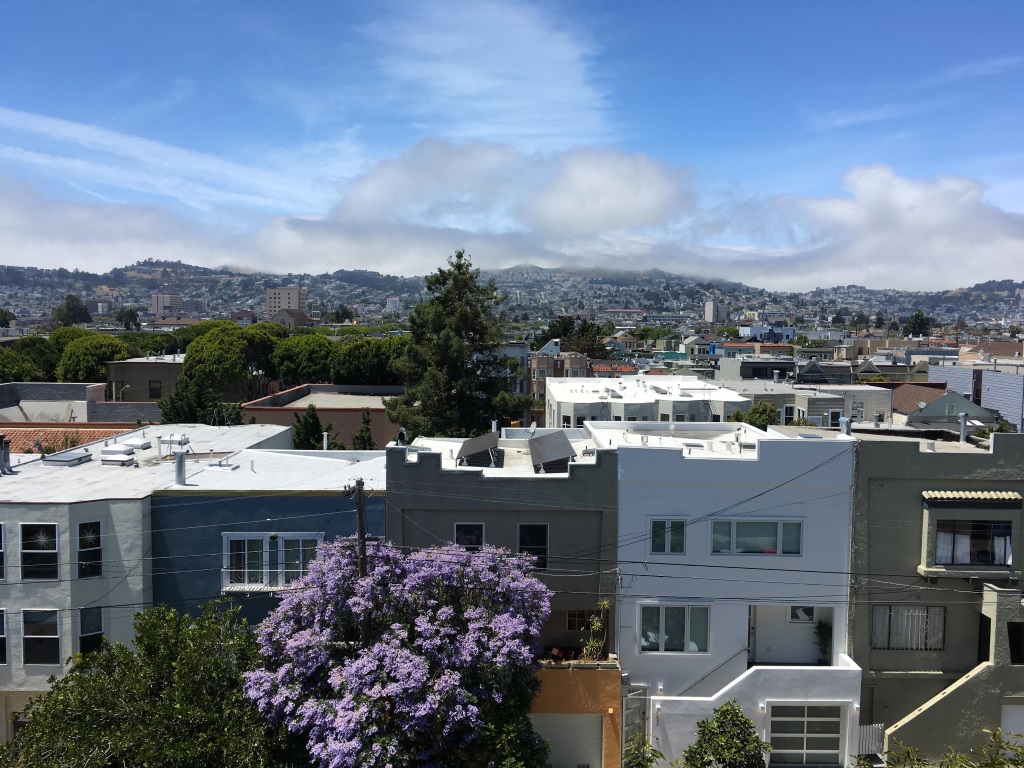
I was visiting San Francisco from June 1 to 7. Here are some pictures I took.
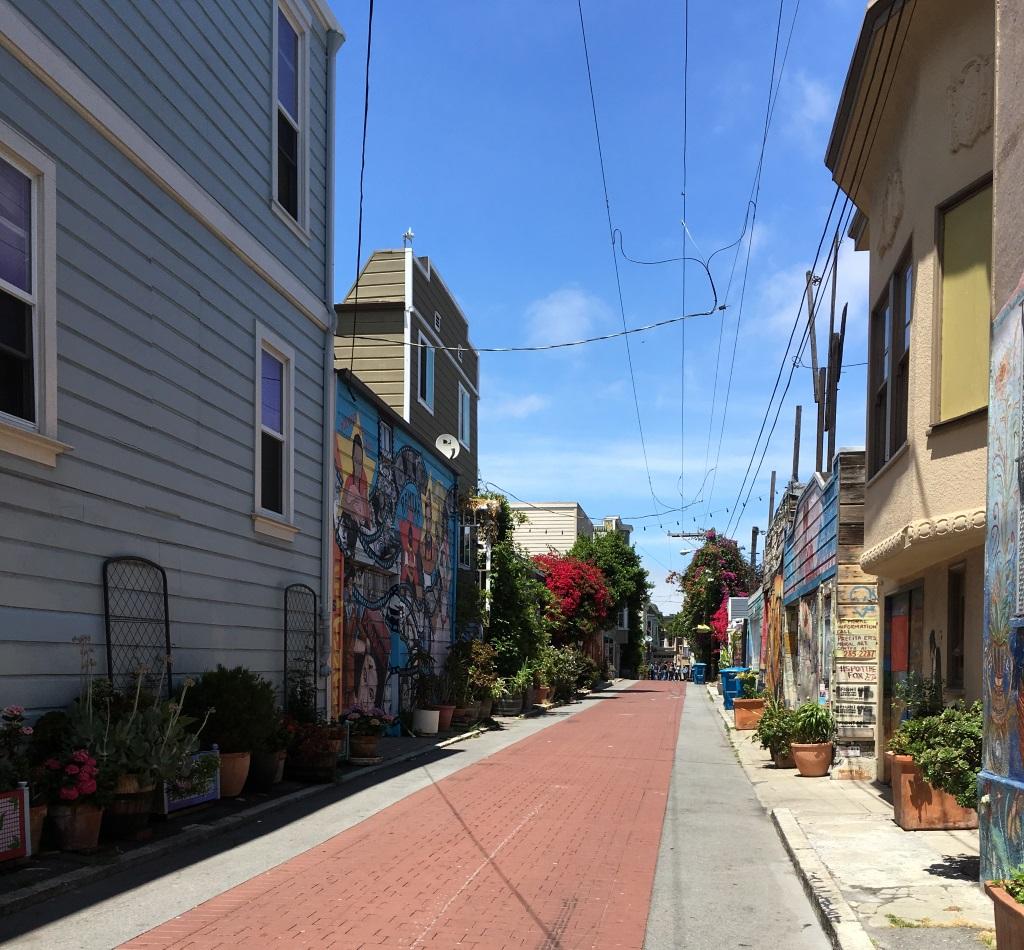
It's nice and warm when the sun is up but it gets really cold as soon as you are in the shade. Ocean wind, I guess. In general, you need to wear a t-shirt and carry a thick sweater to wear in case it gets cold.
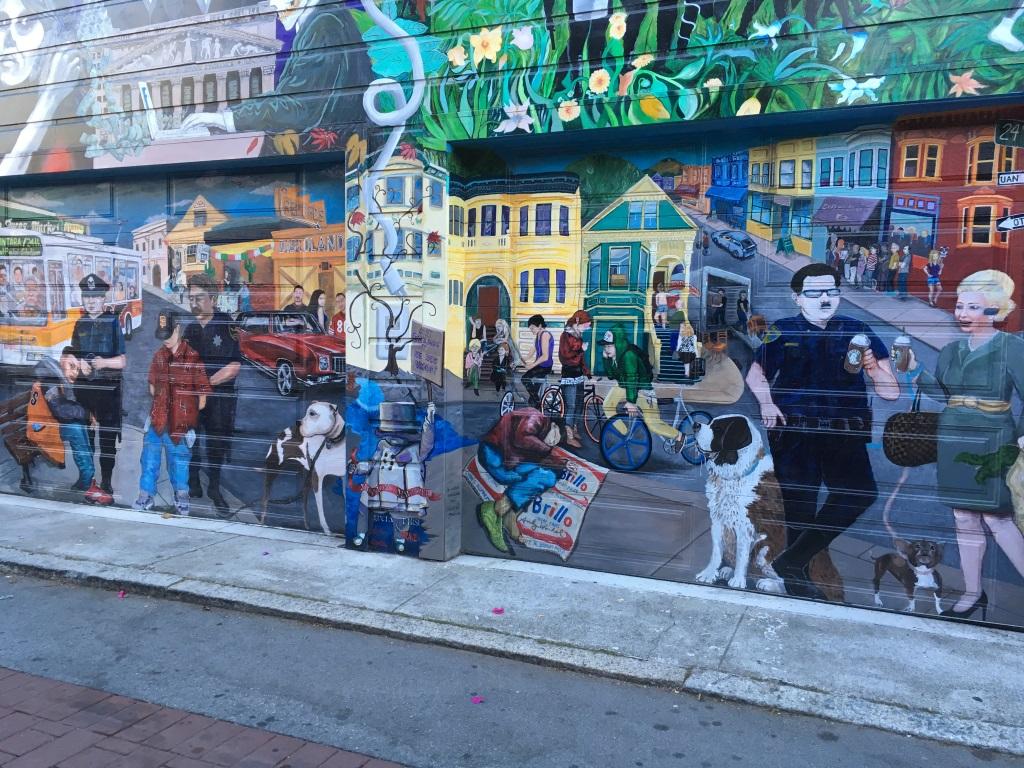
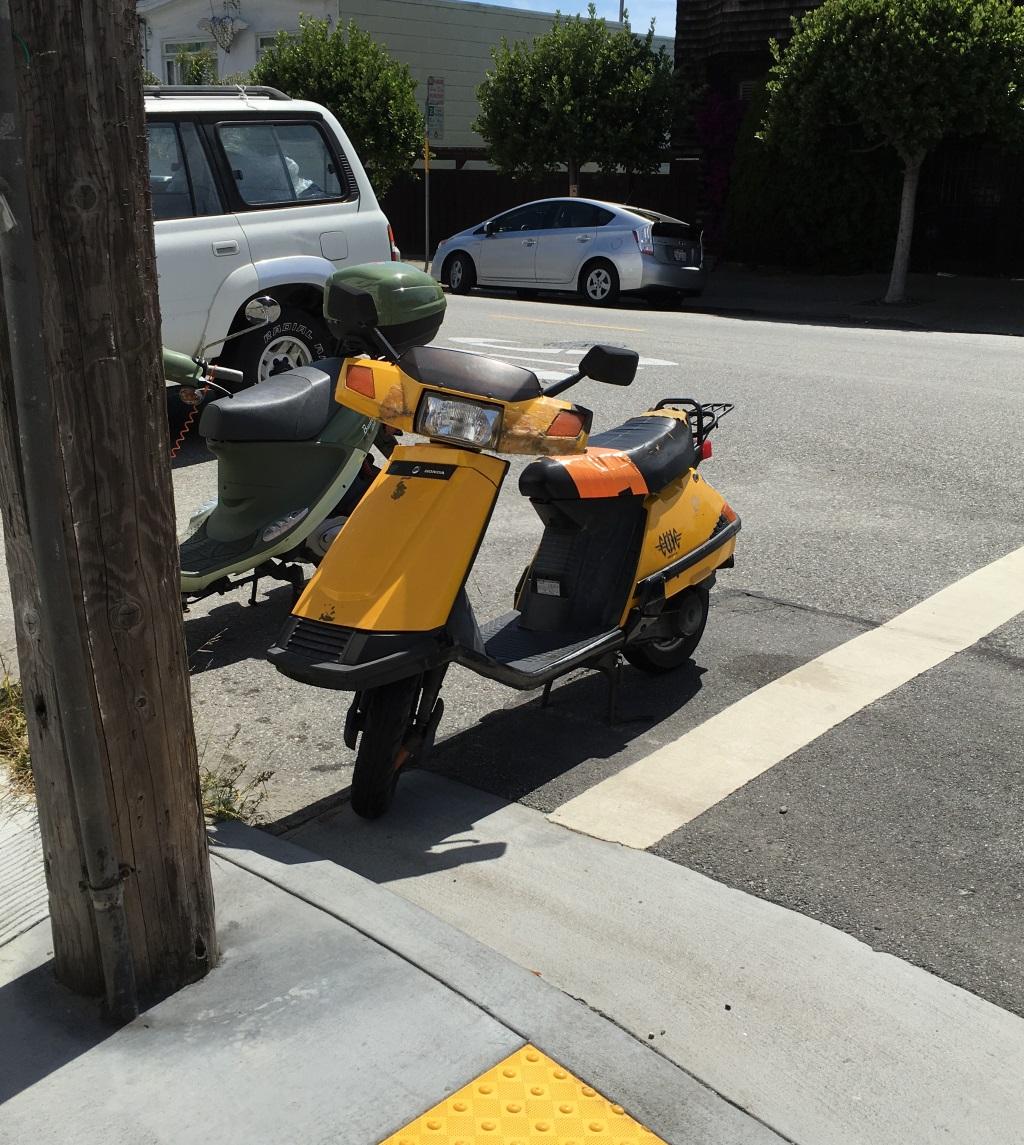
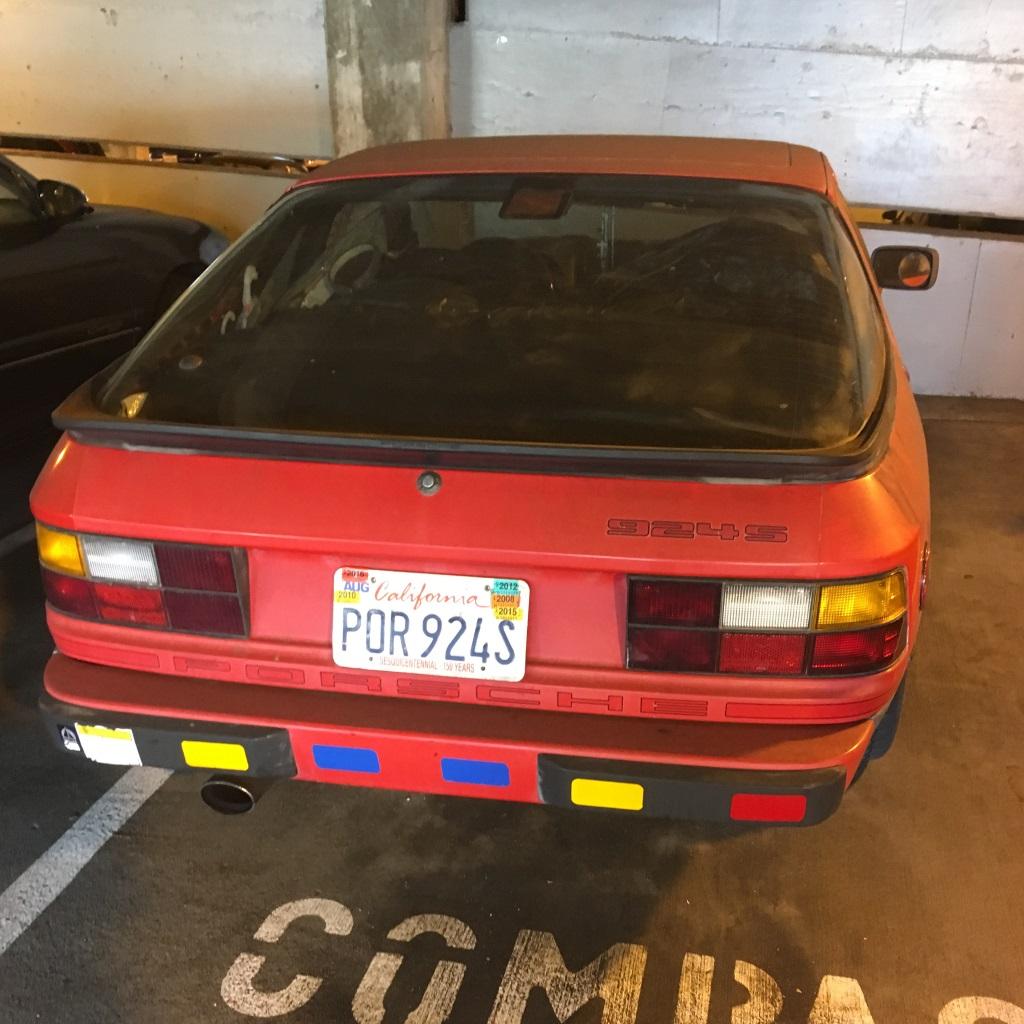
I liked seeing many old 80's cars in SF.
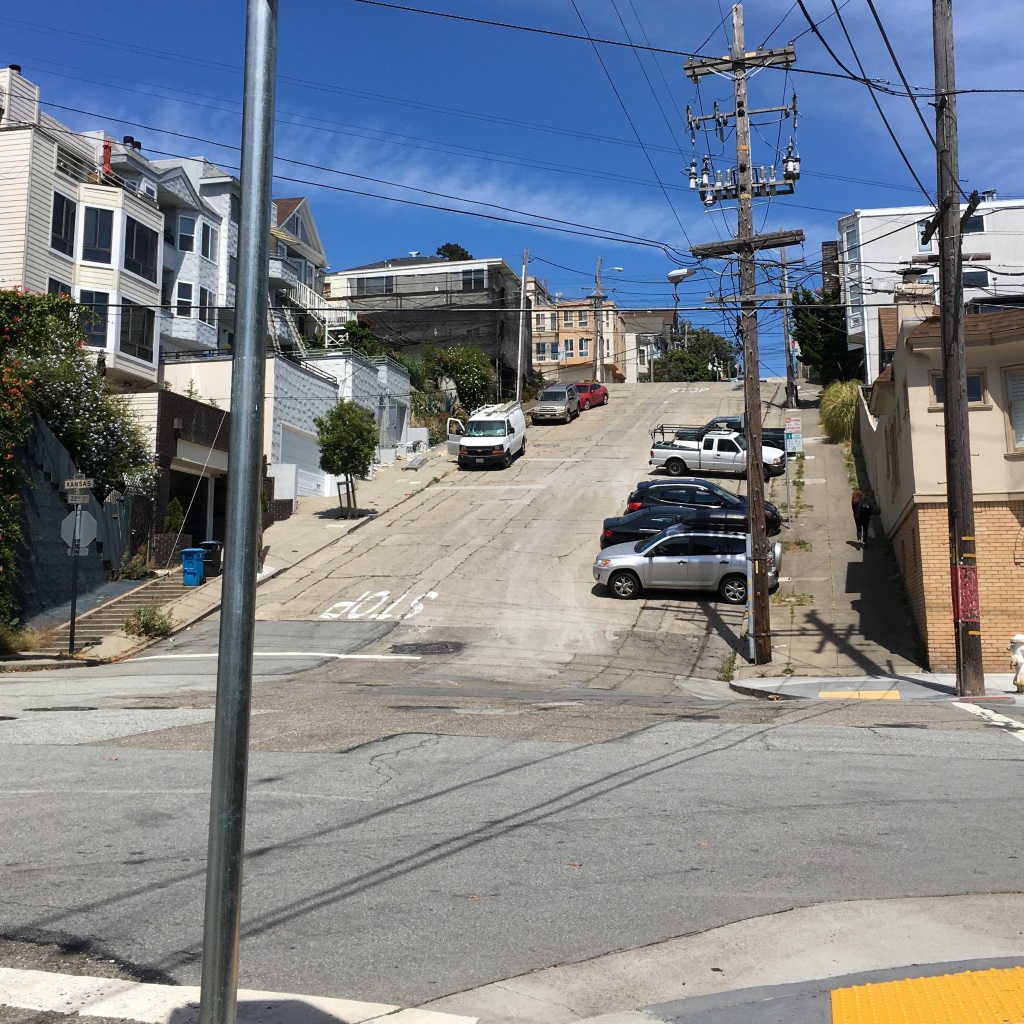
The city is also incredibly hilly.
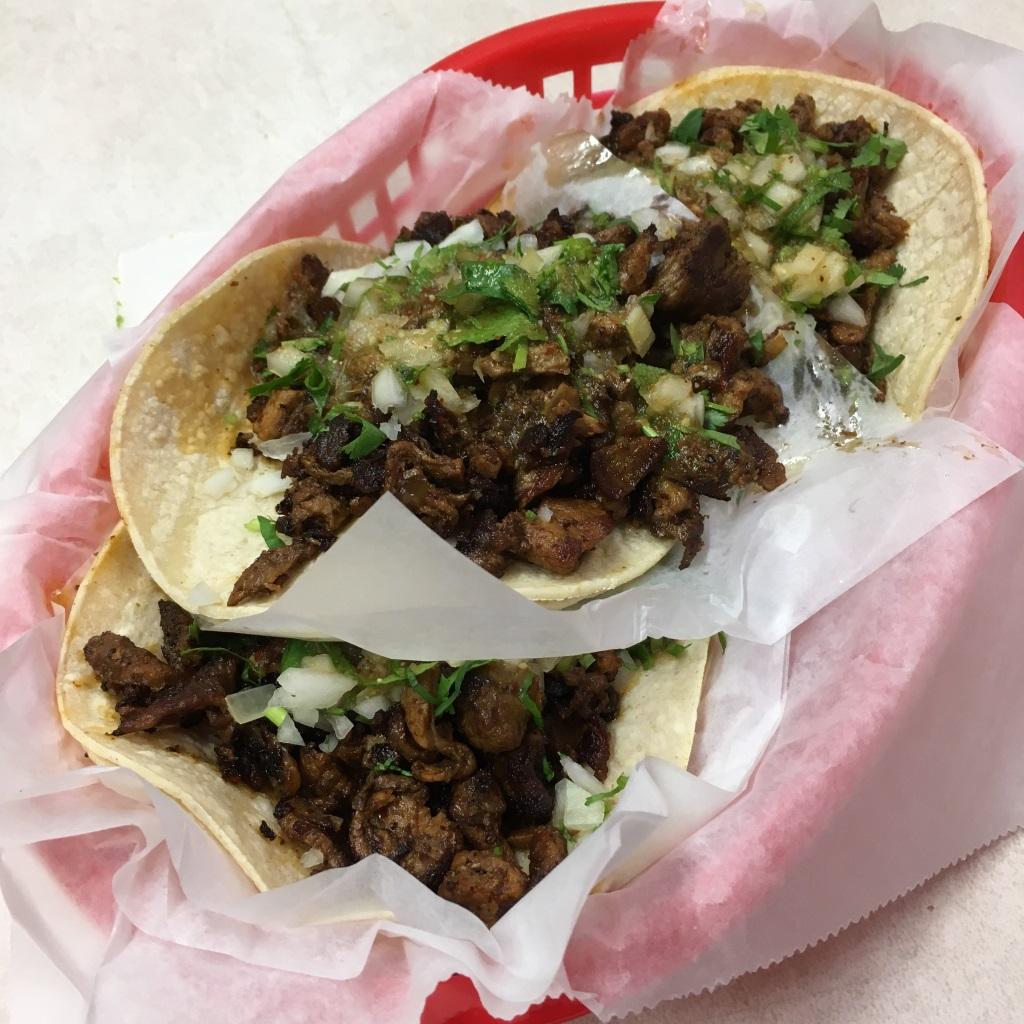
There were many tasty mexican joints as well. A lot more common than the Chinese restaurants in Toronto.
I'll post more later.
Due - my favorite iPhone to-do app
Due is my most favorite todo app. I got it for free from Starbucks but I would totally pay for it. Here's why:
It does not let you forget a to-do item
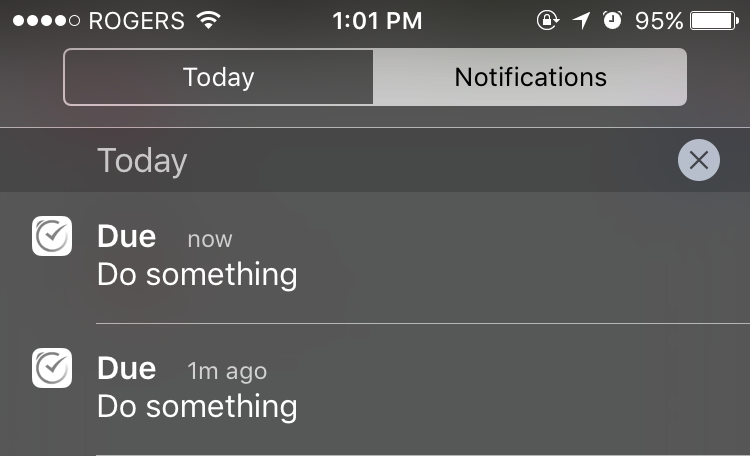

The built-in iOS reminder app reminds you about a to-do item once, but never again. I often forget about a to-do because I don't check the notification area that often. Due will just set off a new notification every 5 minutes, until you either mark it done, or snooze it. You just can't ignore it even when the phone is in your pocket.
There were many times where this "nagging" behavior really forced me to work on important things instead of forgetting them.
Marking it done, or snoozing it is also easy but that's not too different from the built-in app.
Super easy due date/time entry
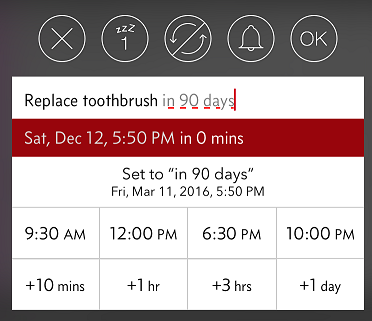
The entry UI is optimized for entering due dates quickly. You can tap to pick a pre-set, but customizable time of day, or add a time interval. You can even type the relative dates as you would talk to Siri.
On the other hand, the built-in reminder app has no way to set a relative (e.g., "in 50 days" instead of "Jan 25, 2015") due date in the UI. You must talk to Siri to do it which a no-go in a meeting.
Auto-import from the built-in app
The app is capable of importing the built-in app reminders so you can easily move from the built-in app to Due. There is also automatic import-and-delete feature so you can keep using Siri for setting reminders.
DPI Scaling on Linux Mint
I have a Surface Pro 2 which has a relatively dense, 10-inch 1080p screen. It hurts my eyes to look at individual UI elements and text without dpi scaling. On Windows, everything is scaled up by 150% by default.
I wanted to use Linux Mint on VirtualBox for development but I couldn't find any articles on the internet on how to get the elements to scale up properly. After some trial-and-error, this is how I achieved 150% dpi scaling that is good enough.
- Go to Preference -> General, then select User interface scaling to be Double. This doubles everything in size. This works for other high density displays like MacBook Pro retina but many things looked too big for the screen of Surface Pro 2.
- Go to Preference -> Fonts, then set text scaling factor to 0.7. This leaves UI elements to be double the size but makes text smaller. Since the text size was doubled then multiplied by 0.7, it ends up being 140% of the original size, which is close enough to the desired level of 150%.
- Log out and back in to finish applying the change.
Recent posts
Categories
Search